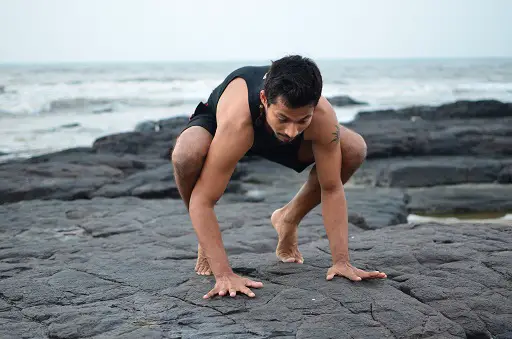
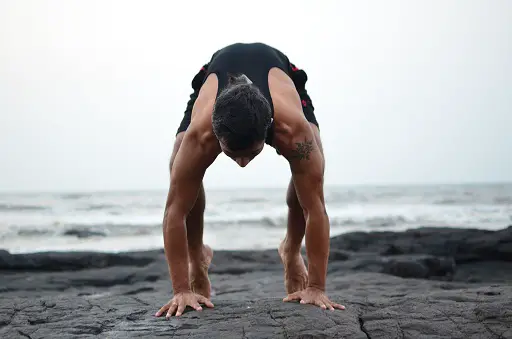
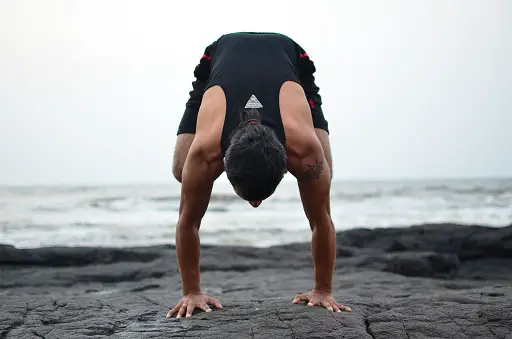
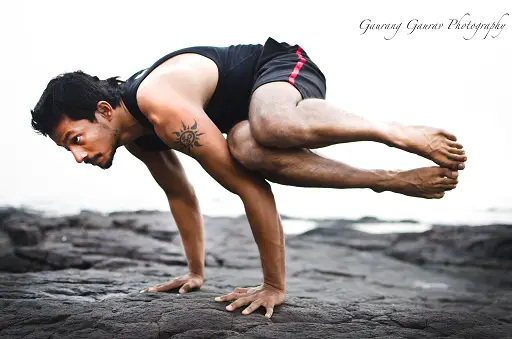
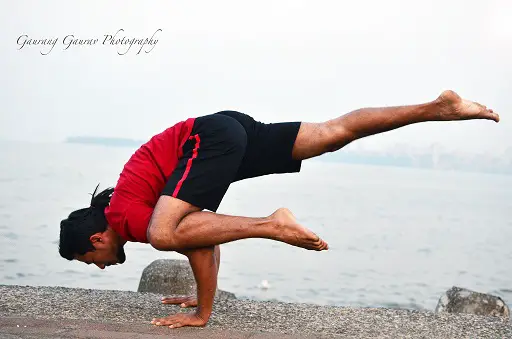
These are two poses that people generally get confused with and use interchangeably to mean the same. The reason being these two look quite the same at the first glance but have quite a lot of differences if you pay close attention.
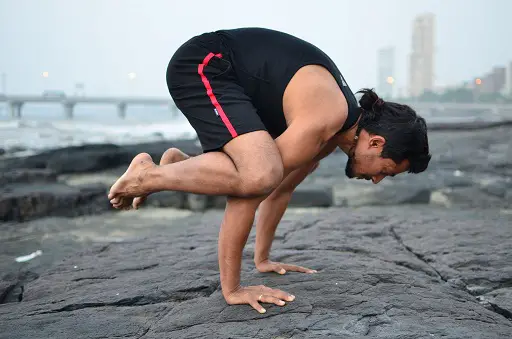
In the crow pose (kakasana) the arms are bent like the bent legs of a crow (see photo below) and in the crane pose (bakasana) the arms are straight like the straight legs of a crane.
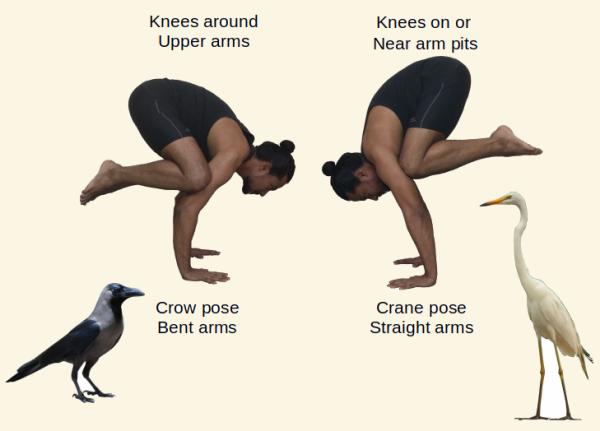
The difference is not only on the basis of how they look but also in the ways they work the muscles. Out of the two, the Crow pose is easier and is one of the beginner’s arm balancing poses. In the crow pose most of the work is done by gravity (notice how the knee is wrapped around the arms and half of the weight of the body is forward and half back like a weighing scale).
**Read about proper hand placement and alignment for arm balancing postures to keep your wrists safe and injury-free.
In the Crane posture, the knee is placed near or on the armpits. Notice from the above photo that the knee is in the armpit and the thigh is completely touching the stomach and chest. For this flexibility in the deep squat position (mal-asana) is required. A variation for this will be to place the knee as near to the armpits as possible, on the upper arms. This is one of my older photos when I was not as flexible in the hips, notice the position of the knee here, it’s a little below the armpits.
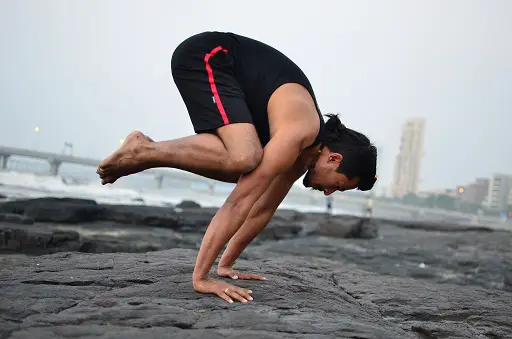
In the Bakasana (crane) you will not be able to use gravity to your advantage but will need the wrist, forearm, shoulder, and core strength to push the hips and body up. Also to not let the knee slip you will have to engage the core (uddiyana bandha) strongly. I find it a bit easier if I am wearing a t-shirt because the friction of the cloth helps a bit to not let the knee slip. But if I am doing this pose in my regular practice and am sweaty then this is one hell of a pose.
Bakasana is also a good pose to add if you are learning to press-handstand. In press-handstands, the shoulder goes beyond the wrist plane, and then you use the gravity and the core strength to lift the legs. If you observe this posture you see that the shoulder position is similar to the one required in press handstands.
Here is a step-by-step explanation of both the poses and some other similar arm balances that you can challenge yourself with.
Kakasana – Crow posture
- Squat on the floor with feet about shoulder-width apart. Place the hand flat on the floor in front of the feet with the fingers facing forward. Keep the fingers wide apart. Slightly bend the elbows so that the elbows are facing outwards. Rise on your toes lean forward and place the knee in such a way that the inside of the knee touches the outside of the upper arm as near as possible to the armpits. Lean forward further lifting your hips slightly up, transferring the body weight to the arms, and lifting the feet off the floor one by one. Try to bring both the feet together. Hold the final position for as long as is comfortable. Slowly lower the feet to the floor and relax.
- For a precautionary measure keep a pillow or some soft cushion in front of you, because there can be a tendency to fall on your face.
Bakasana – Crane posture
- Baka means crane. For this posture, you have to perform the same as kakasana but you have to keep your knee on the upper arm as near to the armpits as possible. Lift your hips up and shift your weight on the arms. Initially, the arms might be slightly bent but keep working on lifting yourself up by straightening the arms and using your core.
What next?
You can challenge yourself with some of these poses once you have perfected Kak-asana and bak-asana.
If you are looking for more arm balancing postures, check our Arm-balancing postures library.
